Step-by-Step Guide: Connecting a MIDI Keyboard to FL Studio
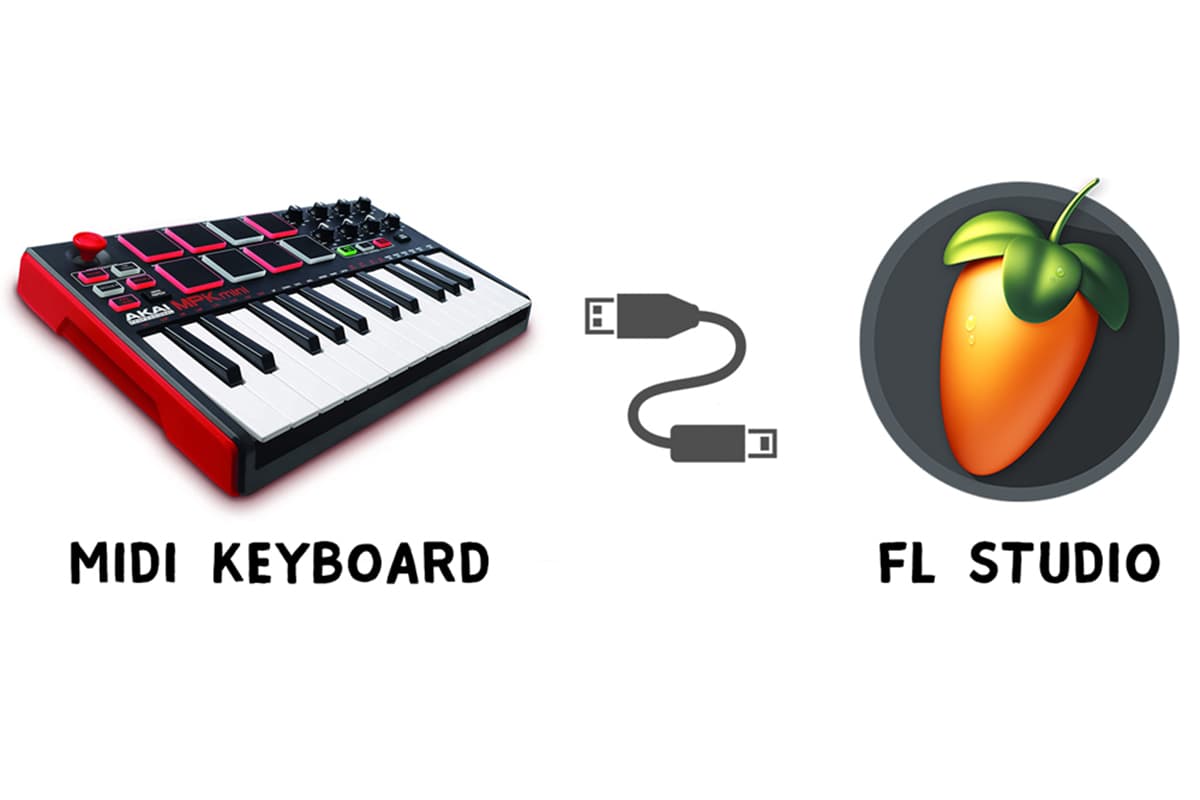
In this guide, I will show you how you can connect your MIDI instrument like MIDI keyboard, controller, drum pads, etc. to your FL Studio on a laptop or PC. Before this, you should know what is MIDI keyboard and how it works? I already covered this topic in an article. Let’s connect it.
Things Required
- MIDI Cable (USB Type-A to Type-B)
- A laptop or PC
- FL Studio DAW software
- A MIDI controller
Steps to connect MIDI Keyboard to FL Studio
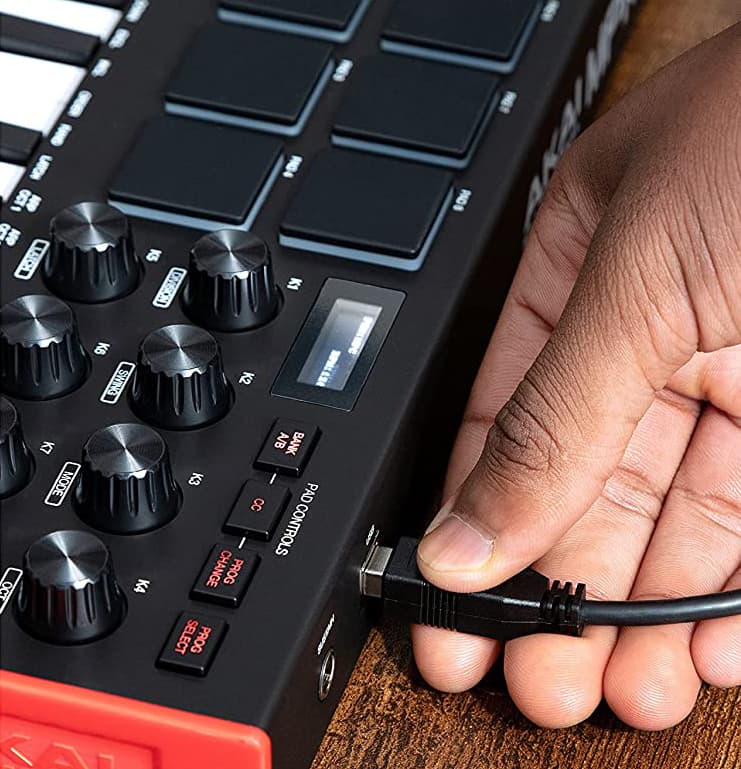
Step 1: First, connect the USB Type-B end to your MIDI controller.
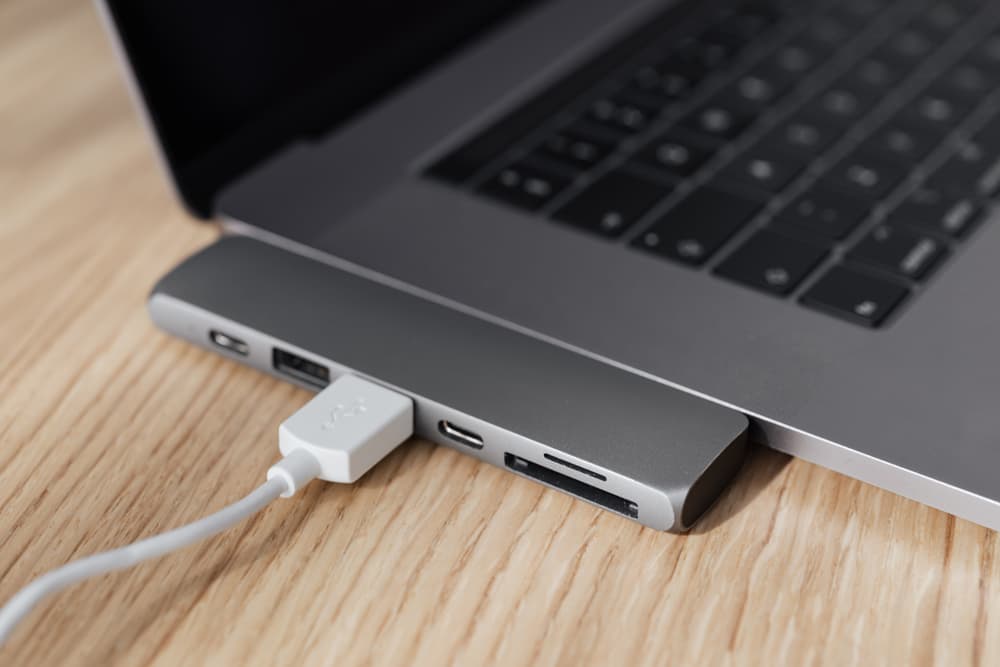
Step 2: Now connect the other USB Type-A end to your PC or Laptop.
Step 3: Turn on your PC and MIDI controller and install the required drivers of the controller, if needed, to your computer.
Step 4: Now open the FL Studio DAW software.
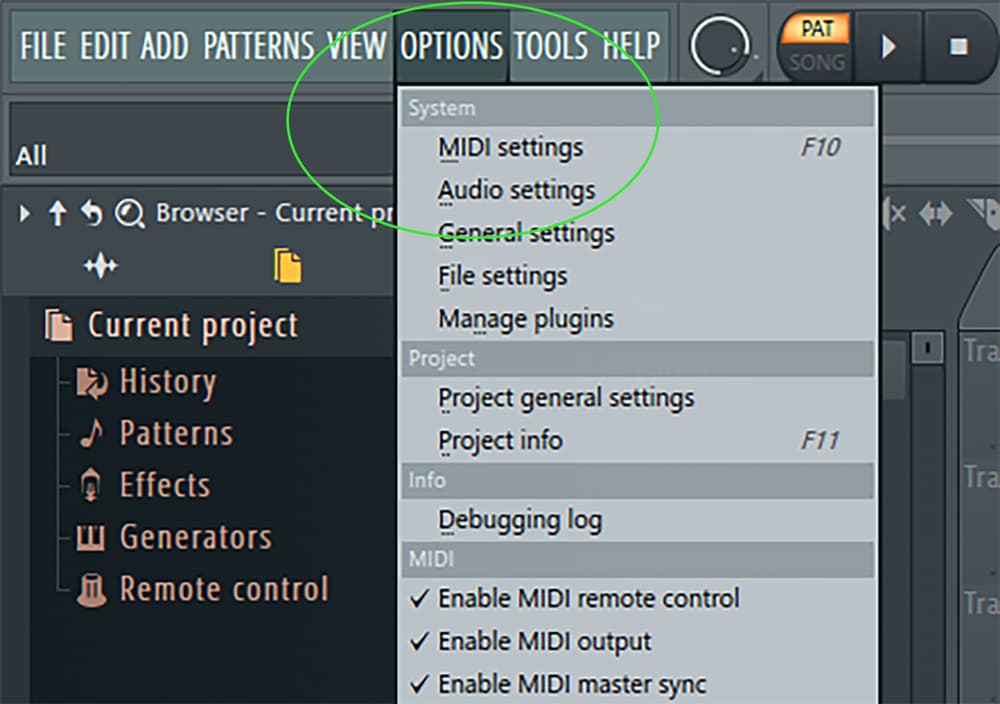
Step 5: Click on Options > MIDI settings. You will see your MIDI controller name in the Input section (like mine is Casio USB-MIDI).
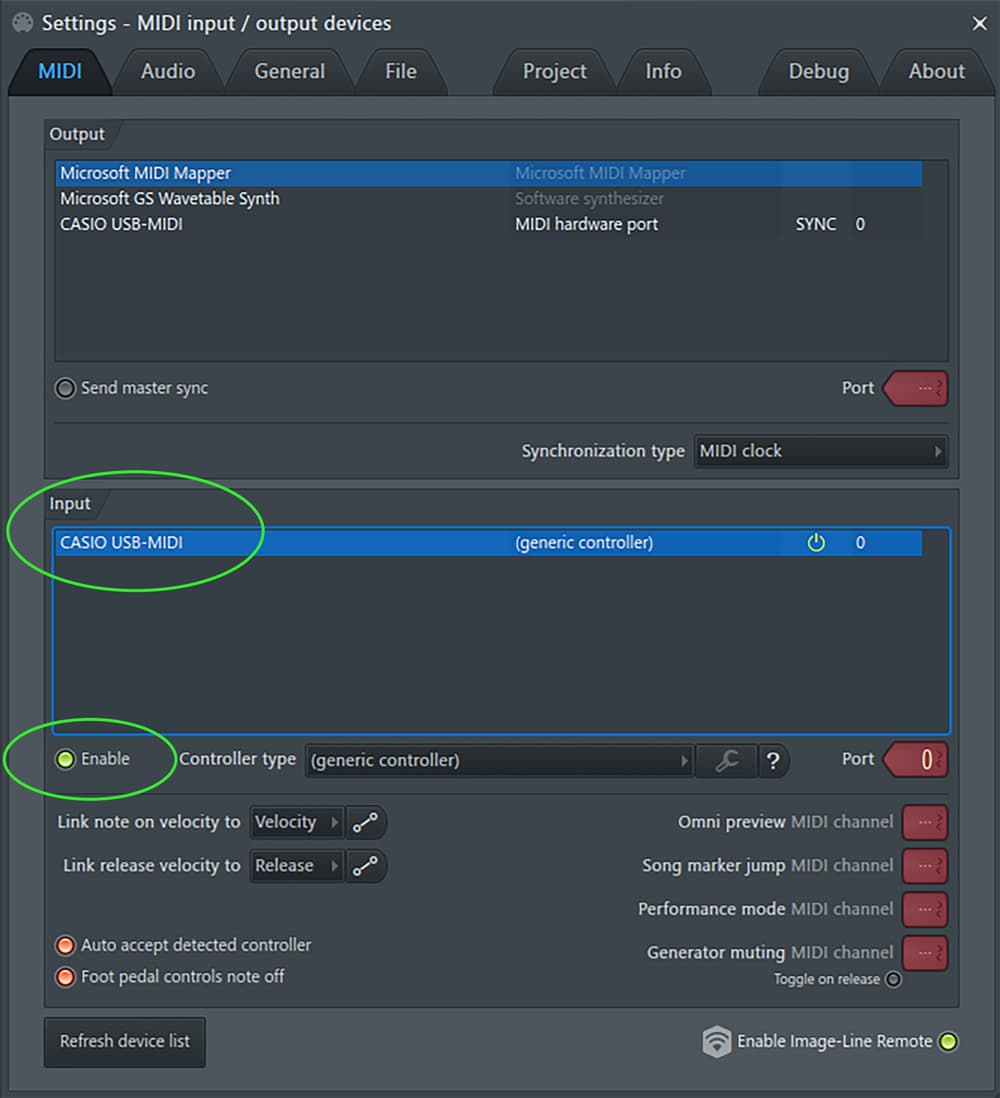
Step 6: If there is no such name is there then try to refresh the list by clicking on “Refresh device list”. Make sure your MIDI controller drivers are installed properly.
Step 7: You can select your Controller type from the dropdown list.
Step 8: Make sure there is a green light on Enable radio button. Without this, your DAW software will unable to receive the output signals from MIDI Keyboard.
Voila! You have successfully connected to your MIDI keyboard. Now start your music production journey.
